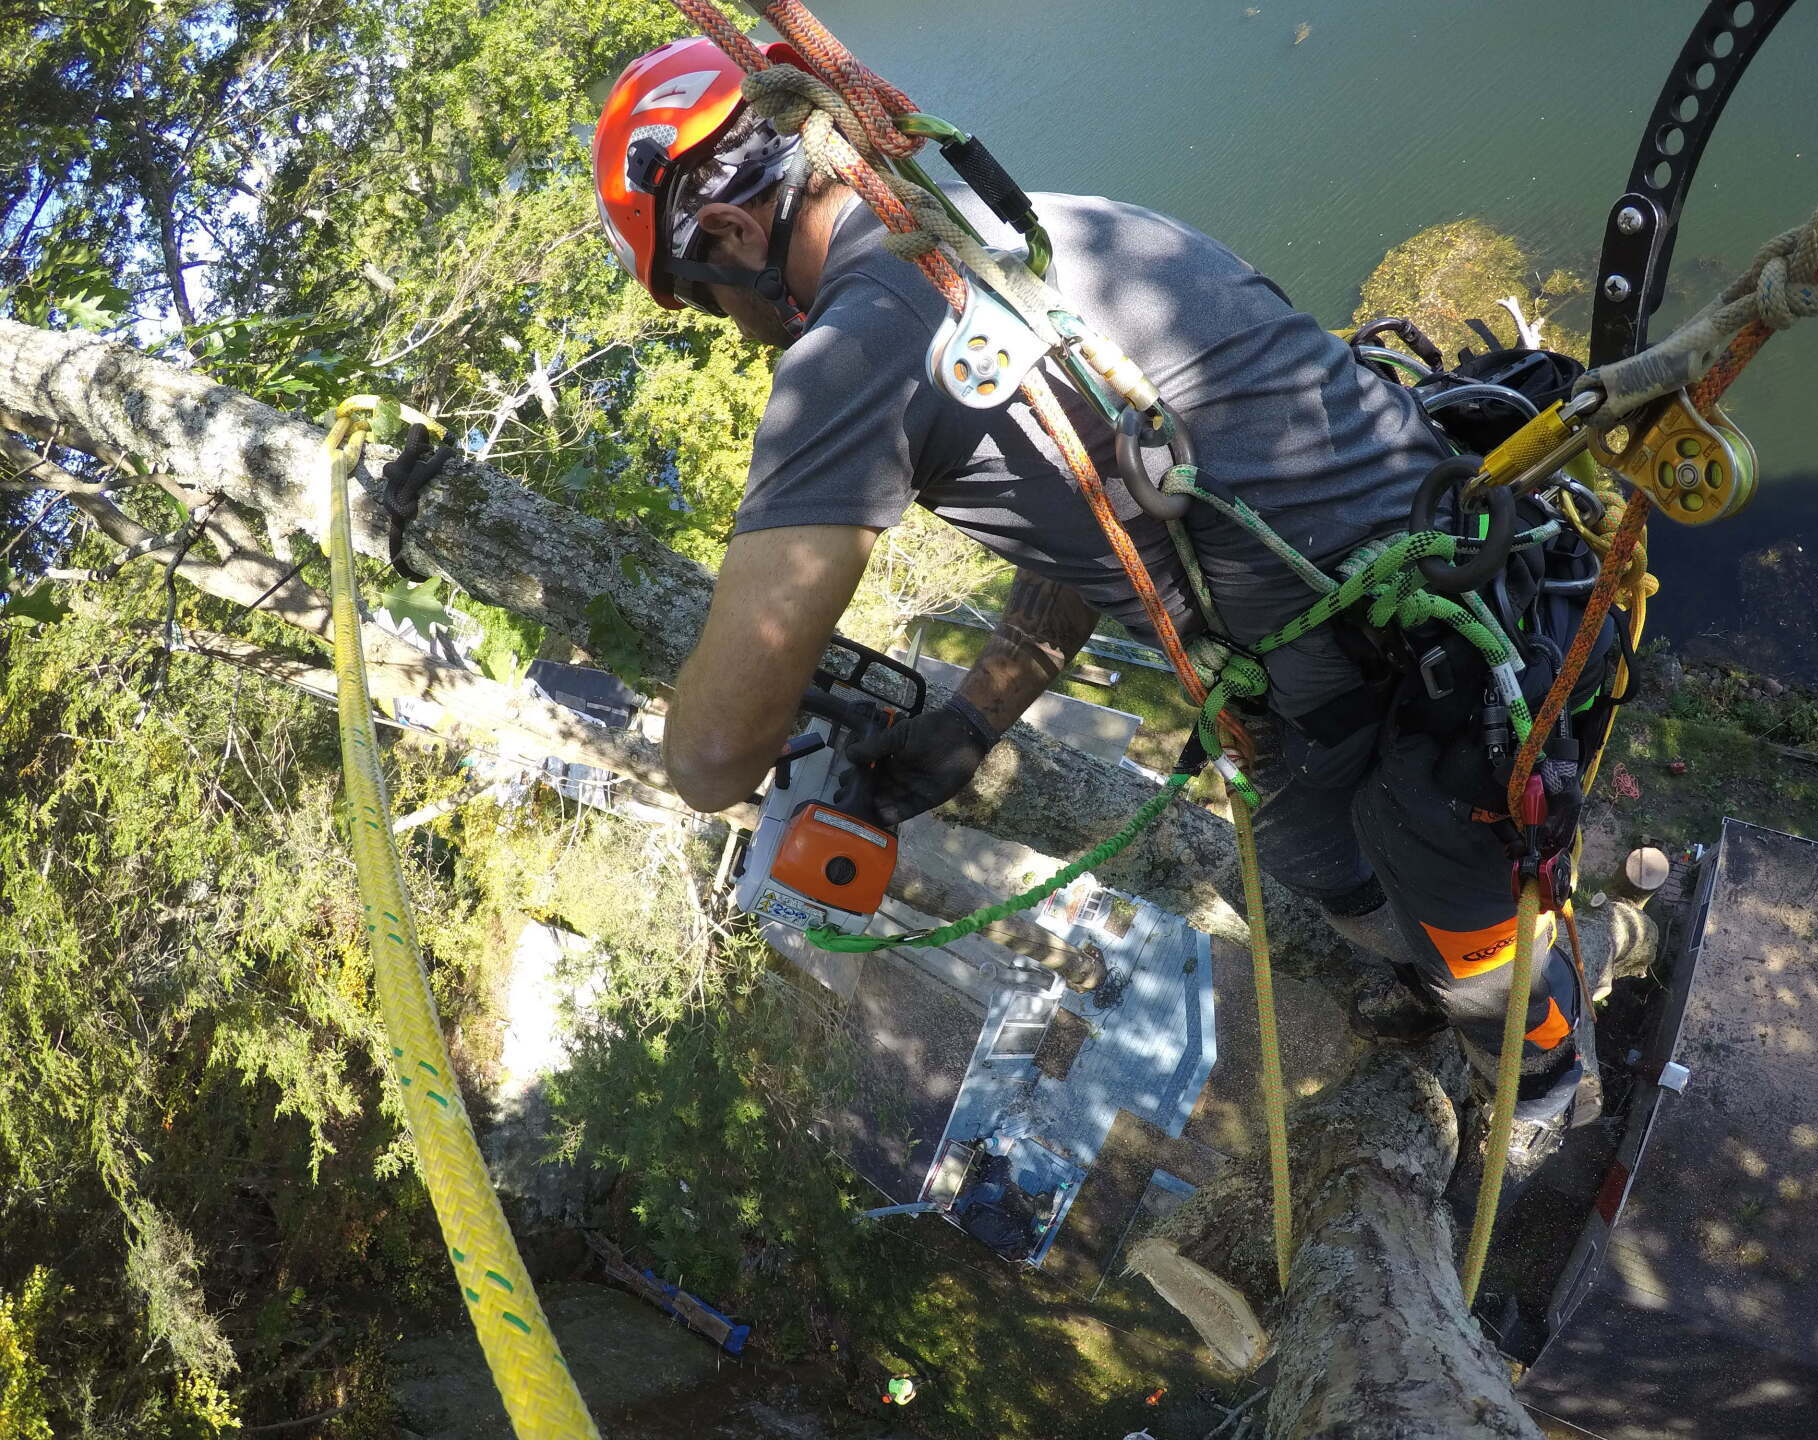
One huge advangate to an MRS system is that the rop has taken a bender over a limb or a piece of hardware, creating two parts to the rope and giving the climber a mechanical advantage. This means that the input force a climber needs to pull their body weight is split in half and each part of the rope. This means that the input force a climber needs to pull their body weight is split in half and each part of the rope. So if the average climber weighs 200 pounds, rather than having to advance all 200 pounds, they now are able to pull on one part of the line while onlly having to pull on 100 pounds. One disadvantage to this is that because the rope is in two parts, the climb must move double the rop to advance. Because the rope is constantly moving, this can make re-directing in order to get into the ideal work position quite difficult. The steeper the angle of the rope and contact with hardware, and/or branches can increase the friction and make movement difficult in some positions.
Work Positioning: How to stay "hip" and not be too attached to them
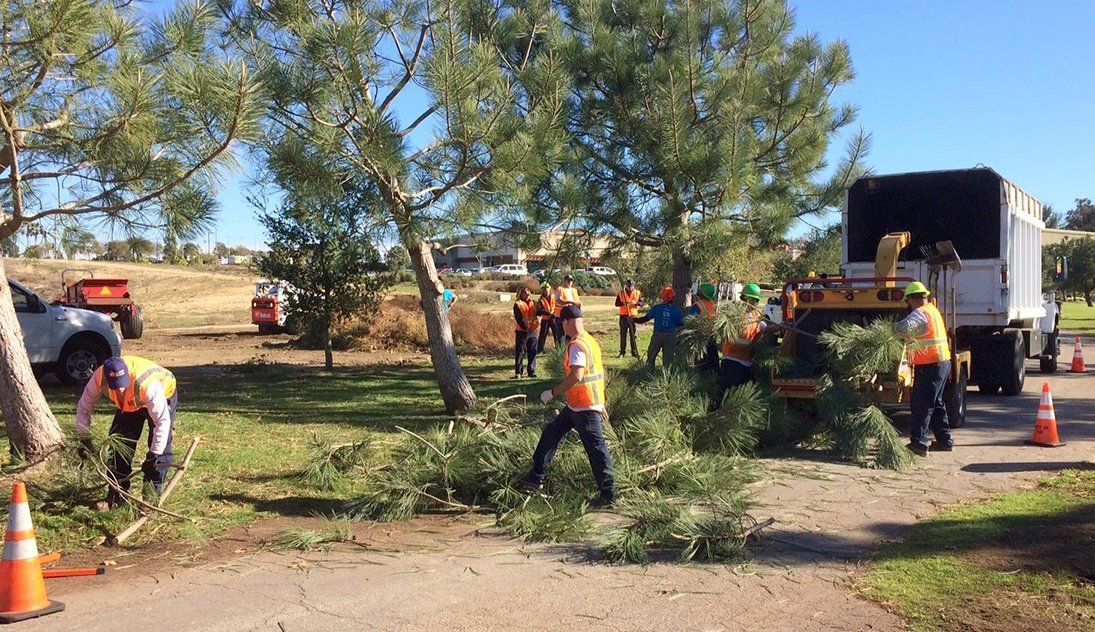
With so many options for tree climbers in this day and age and social media being such a huge influence, how do we make decisions on purchasing equipment and the systems we use to perform the tasks that face us in our day to day operations.
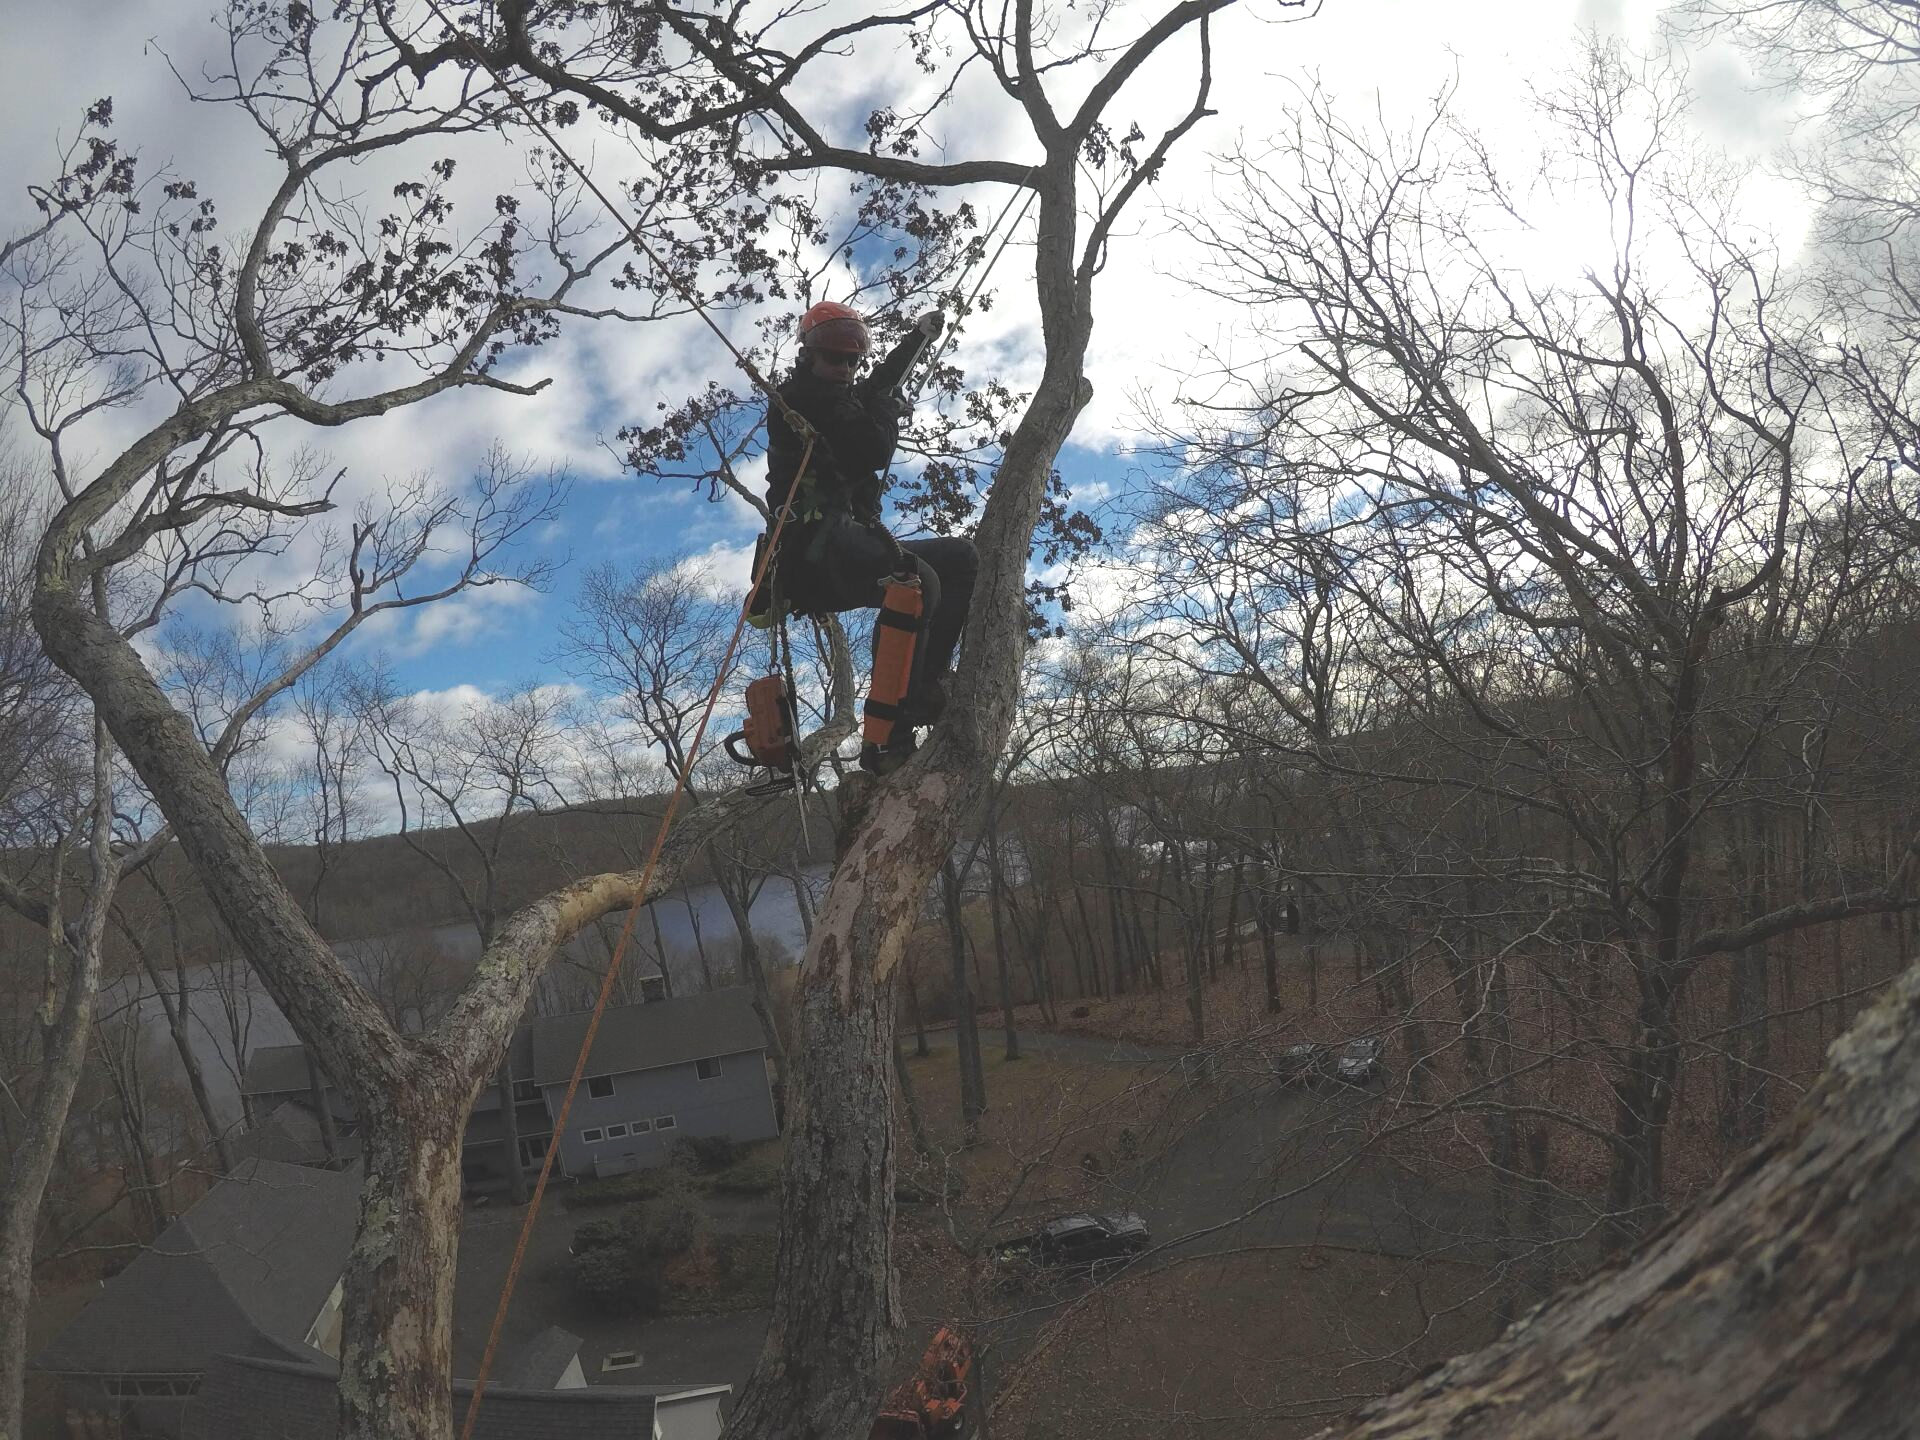
A major push towards SRS/SRT systems in modern tree climbing has left many forgetting the power and versatility of using MRS/Double Rope systems to be the most effective and productive climber we can be. At ArborMaster Training, we encourage our students to select the right system for the task at hand and not be completely committed to one or the other. Both of these powerful weapon climbing systems can travel with you wherever they are needed in the canopy with a tool we have with us every climb, our Work Positioning Lanyard!! I like to tell my students that "SRS systems will get you anywhere, but they won't get you everywhere".
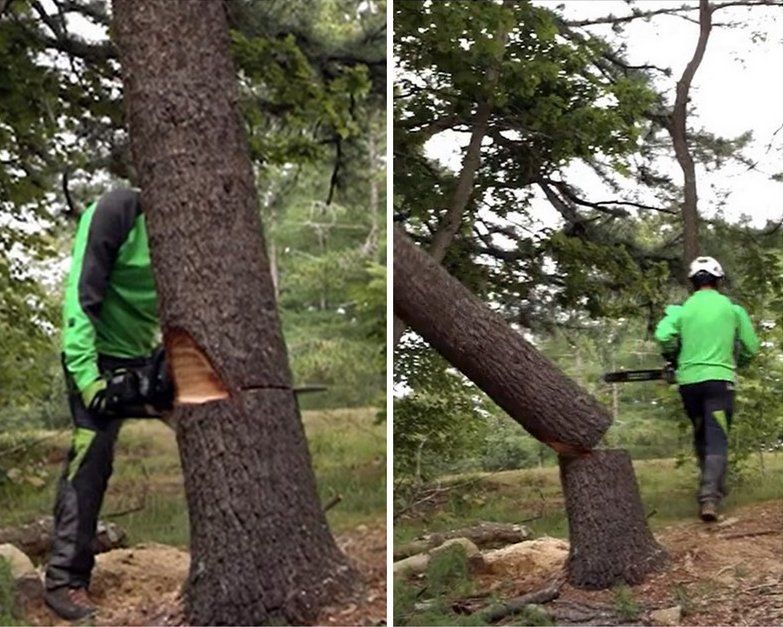
Sometimes it takes that little bit of the MRS advantage to get those couple of extra feet to make the perfect cut. SRS systems are an extremely effective way to access and work position in the canopy giving yourself the best work position by having the ability to redirect and have no worries that friction will affect your ability to navigate through your work plan. SRS systems can also make certain tasks when work positioning difficult because when getting in and out of these positions, the climber will have to pull their entire body weight back up and on to the rope to create enough slack to advance.
So knowing all this, how does a climber take advantage of both of these in becoming the powerhouse they are looking to become in the canopy? One thing that it doesn't take is to overe complicate things by constantly changing and retying in - most of this can be achieved with one of our most important toolsthat we forget the versalitility of: our work positioning lanyard. We tend to keep the mindset that this can only be connected to 2 of our hip rings and connect it only when we get in work positions to cut. With a little forward thinking and keeping the information that we know about the advantages and disadvantages of each system, we can use this more effectively to keep our self in premium work positions at all times.
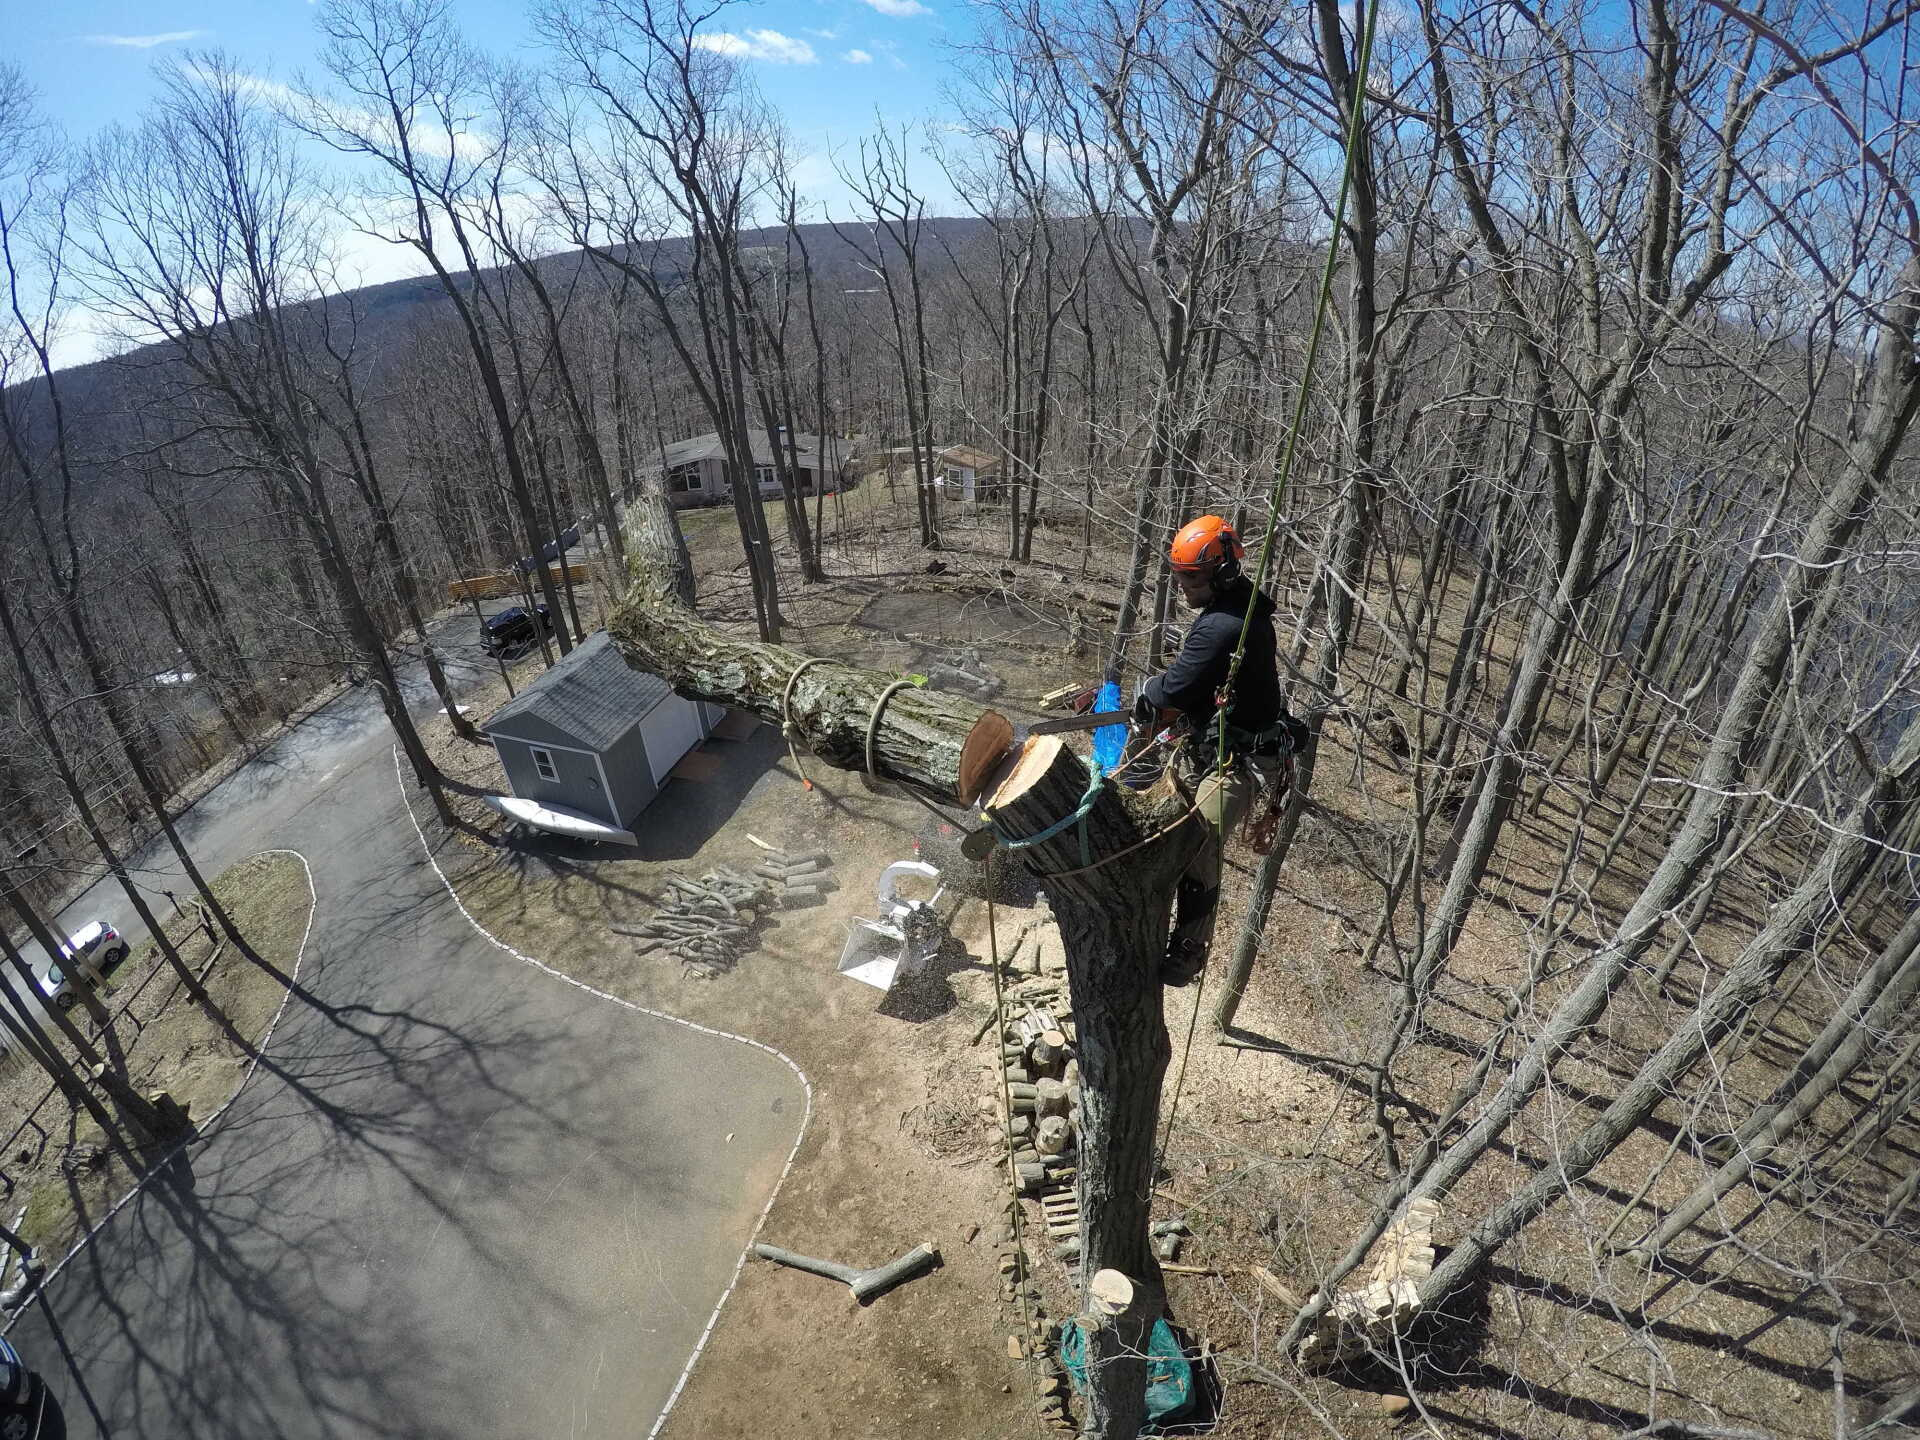
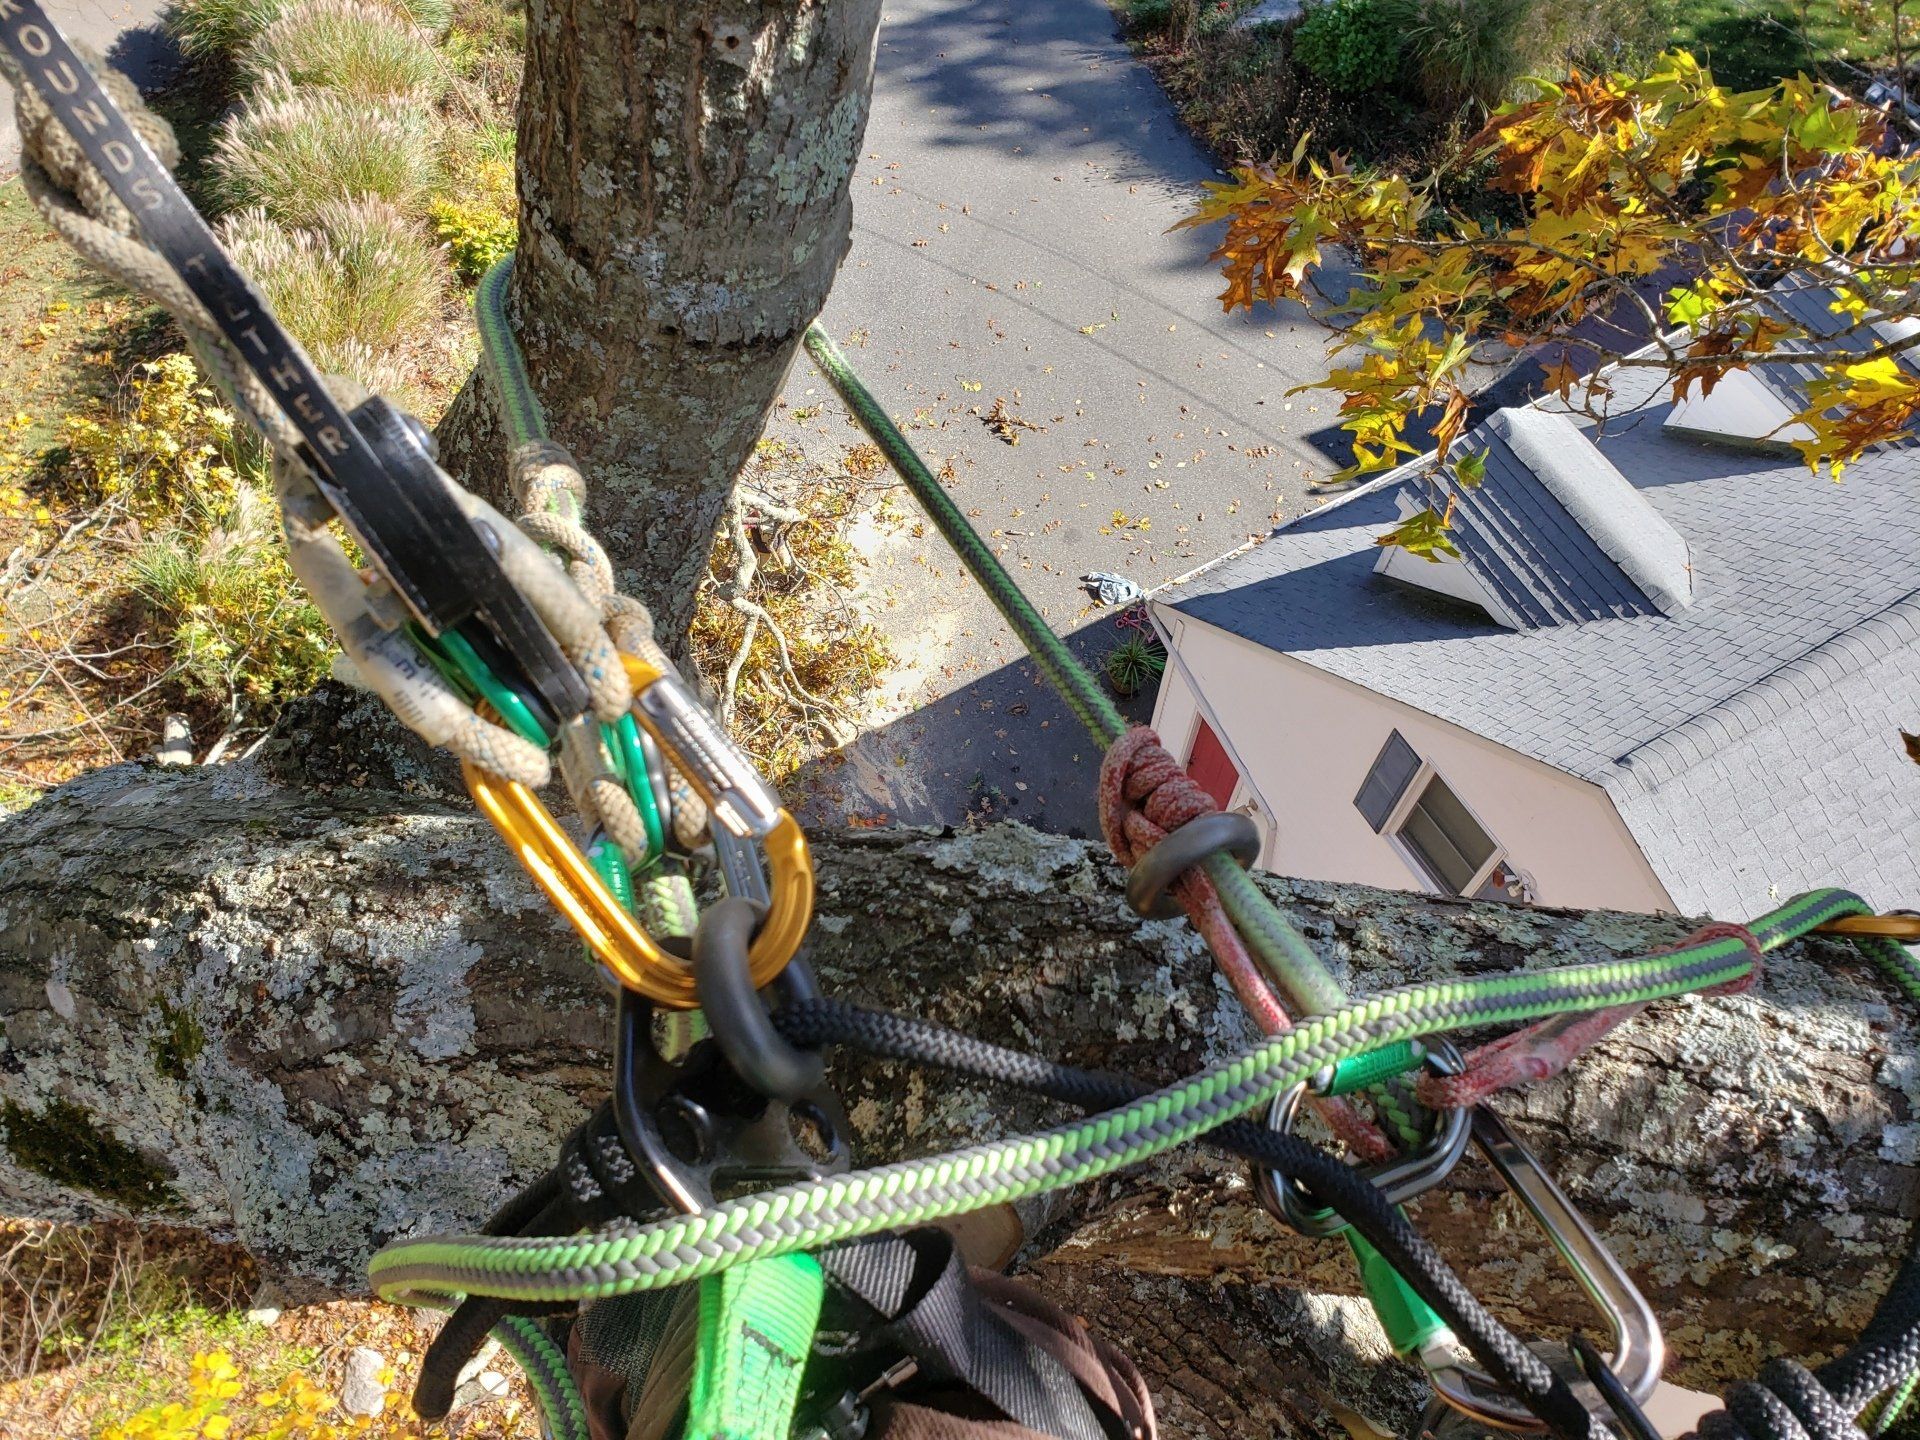
With all the advances in technology, the days of the 6-foot adjustable lanyard should be nothing more than a memory. A longer lanyardmade of cordage can give you all the options you need to perform. Configuring that lanyard to be set to work as a MRS system as well as a SRS system, can give you that short lead that you need in a sticky situation. Knowing your saddle in where all the rated connection points are and making decisions to keep everything neat, is paramount to not jamming yourself up when using your lanyard as a second climbing system.
- Thinking about which way you'll be turning and how your gift will shift, and interface will keep you moving freely and not having any crossing, pinching or sideloading.
- Making sure that you are using connections in your suspension where you will be tied in twice, while performing cutting operations is important to understand, as each saddle is very different, and a suspension can leave you felling like that's the case but not at all.
- Using your suspension to work position instead of your hip D rings can help with some of those uncomfortable feelings in certain positions where you may feel like your movement is completely restricted.
- The saddle suspension shares the load between the legs and hips whereas the hip D rings solely hold you at the waist.
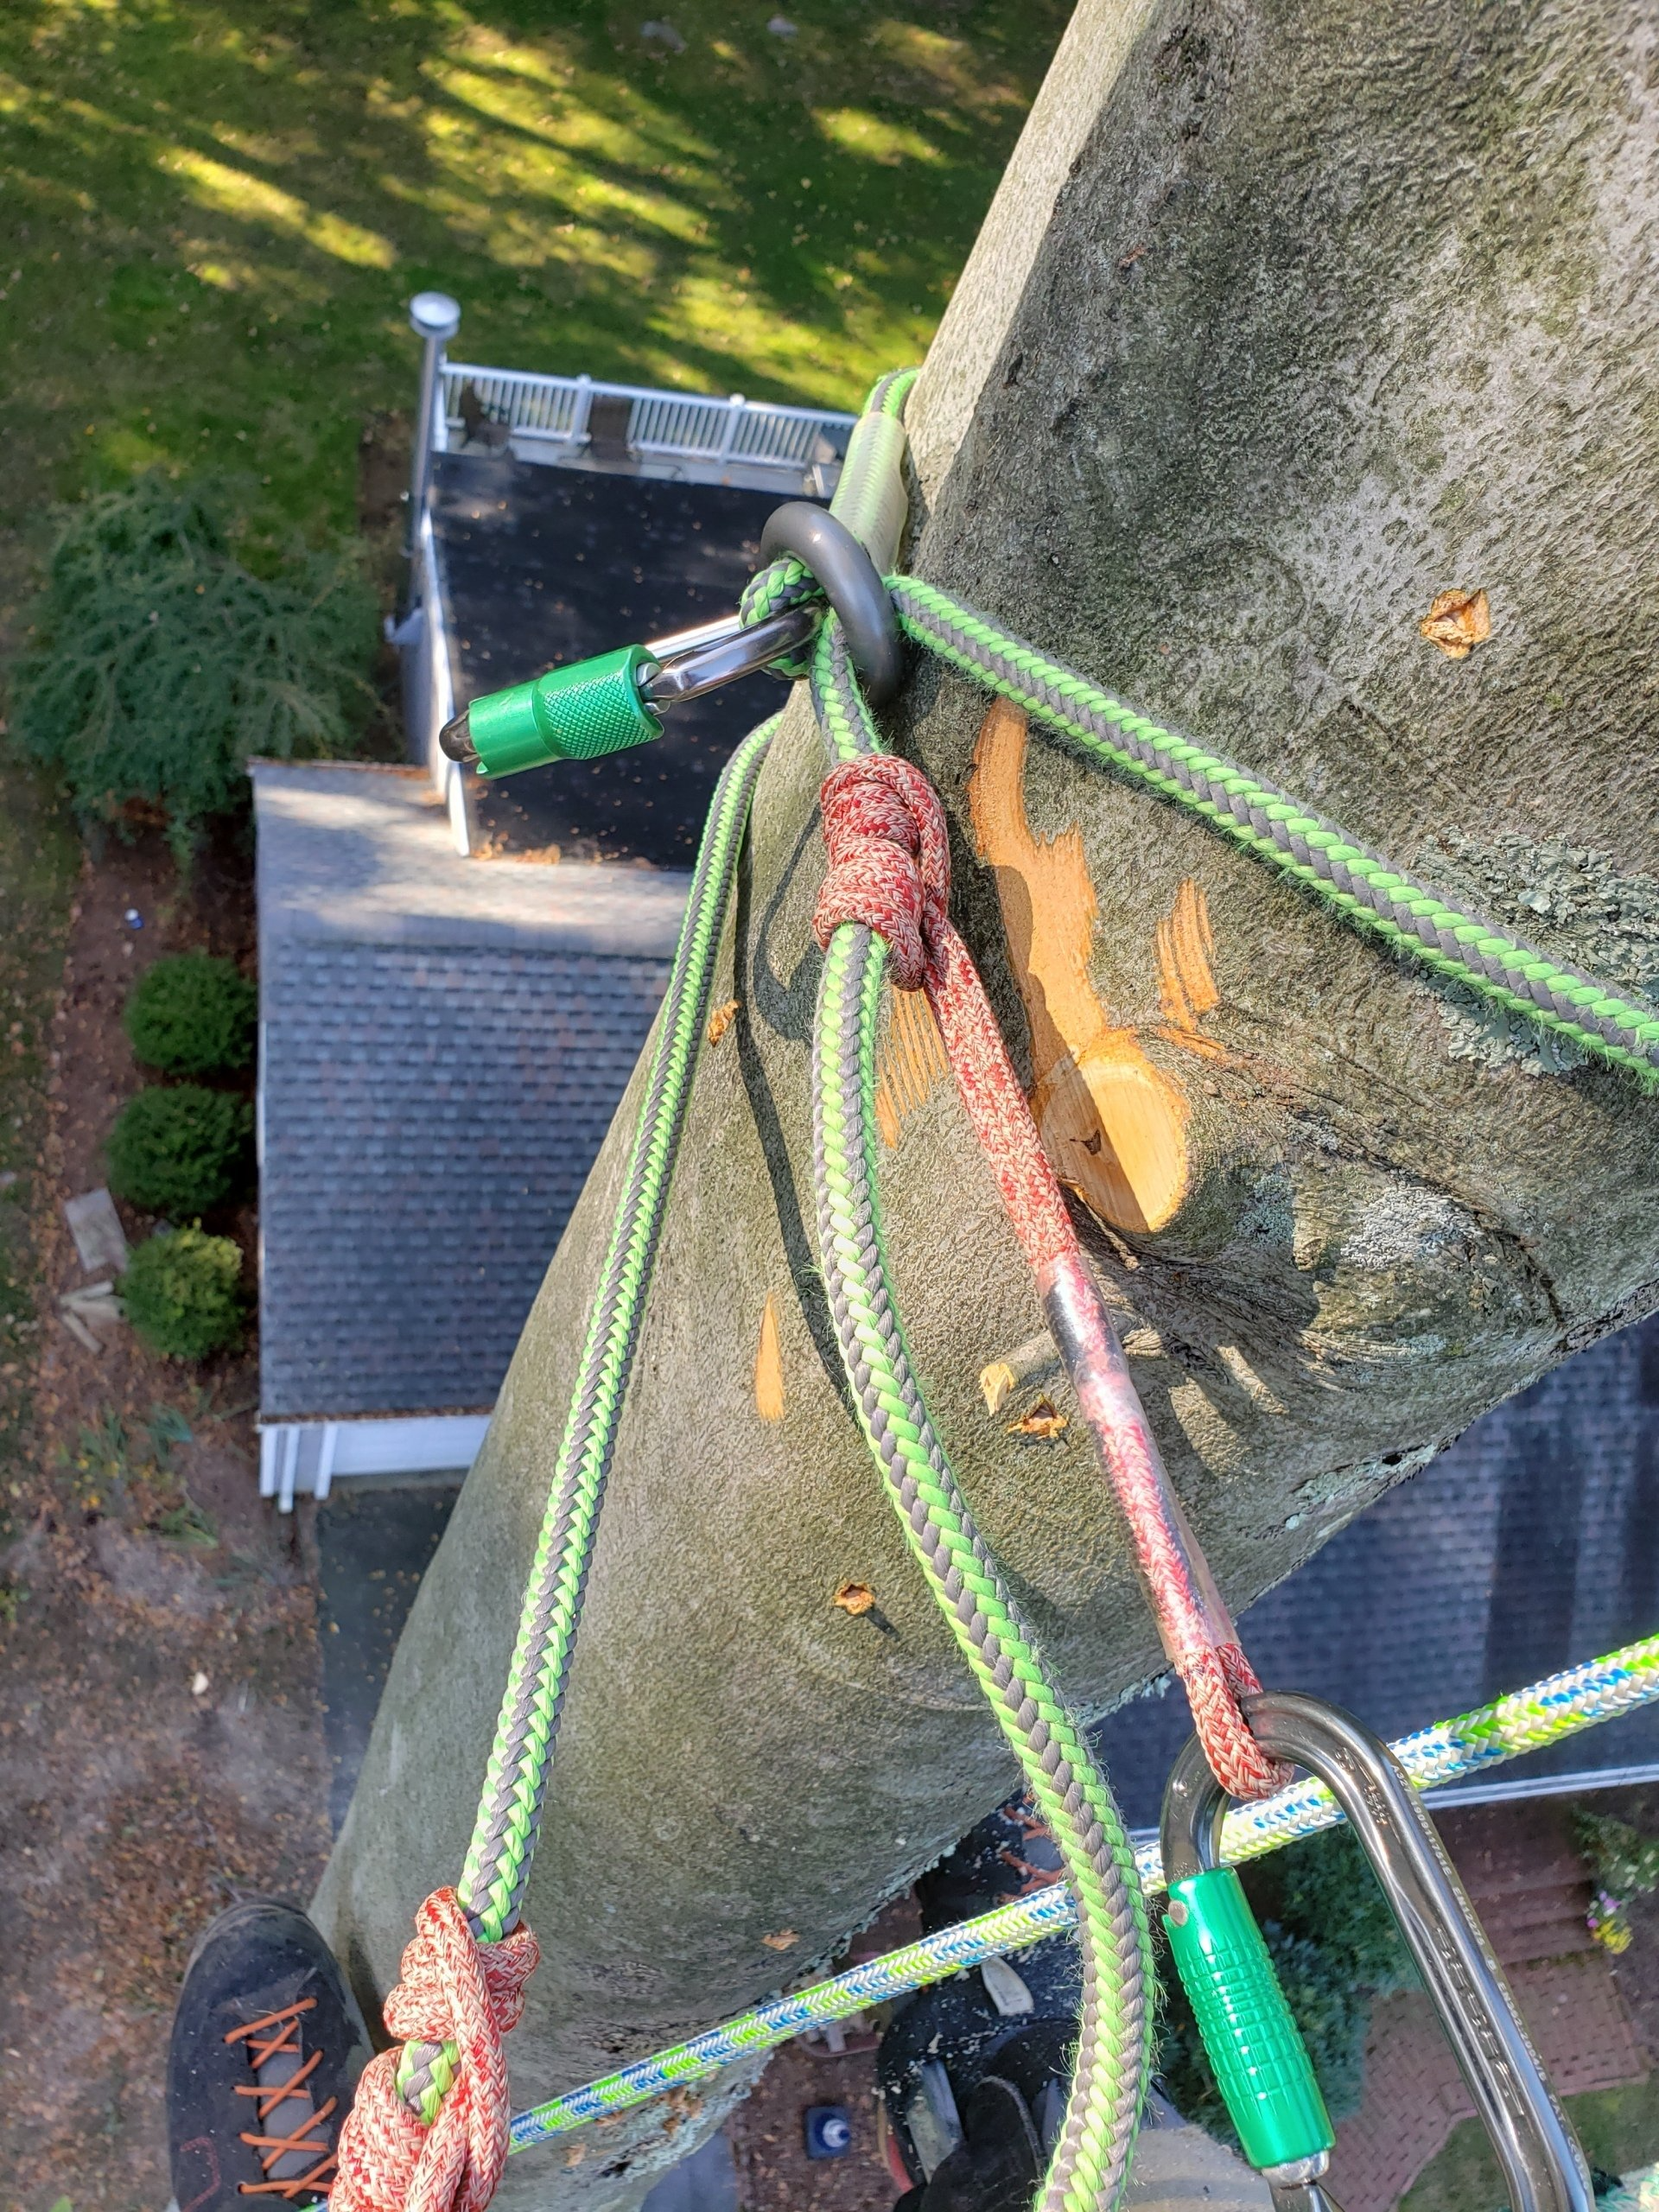
The more we understand about our equipment, the safer and more productive we can be. A long lanyard can also trip you up if it's not managed properly. With a couple of prusik cords and some Daisy chaining, the 20 foot lanyard becomes very easy to manage and gives you the 10 foot MRS system or 20 foot SRS system you've been looking for when you are out in the tips of a limb and feel like you are out of options. These prusik cords also can give you more options when getting into cut position and looking for that hip to hip connection that we all hold so dear. This is easily done with a couple of carabiners off the backside of the lanyard that is not involved in the MRS or SRS system. This can also be used to create a 2 in 1 lanyard to give yourself the option of having two lanyards only carrying one.
So, after all this being said and knowing that one of the most important tools to maximize your climb is always on our saddle, take the time to configure your lanyard to make yourself the most productive climber you can be. Choose your equipment for versatility, use your equipment to optimize your work positioning!
Jamie Chambrelli
ArborMaster Lead Instructor
Climb Safe & we will
"See You At The Top!®"
Latest Posts: